OrgBea was created to solve the need for campus organizations that hold many events. One such organization I am part of was lacking software of this kind and here we have it now!
Login
The OrgBea login interface is located at this URL: https://orgbea.pp.ua/admin/
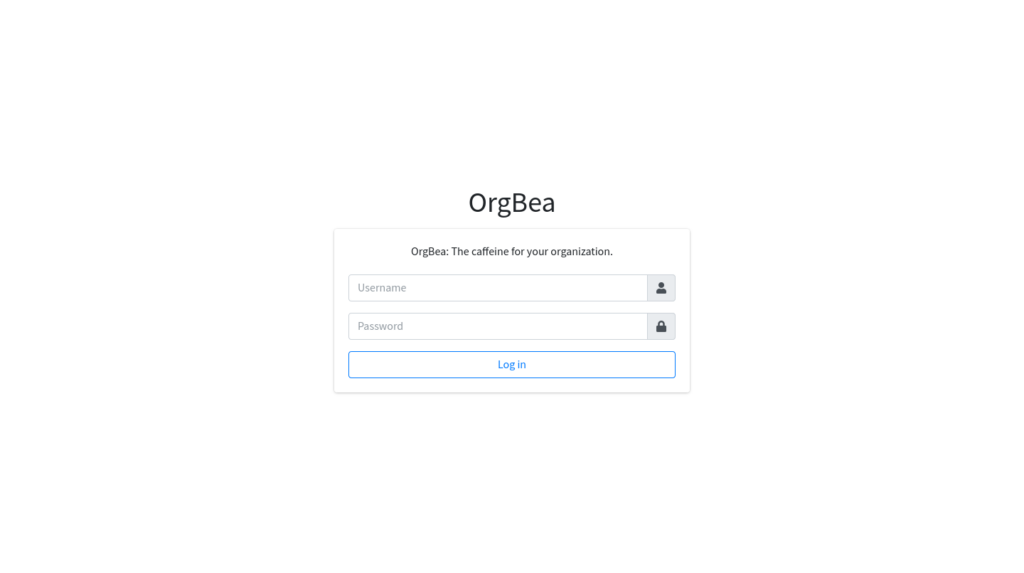
This is the login page, please enter your credentials here.
I am going to login using an account itclub
Usage
Once you log in you will be greeted with a page similar to this.
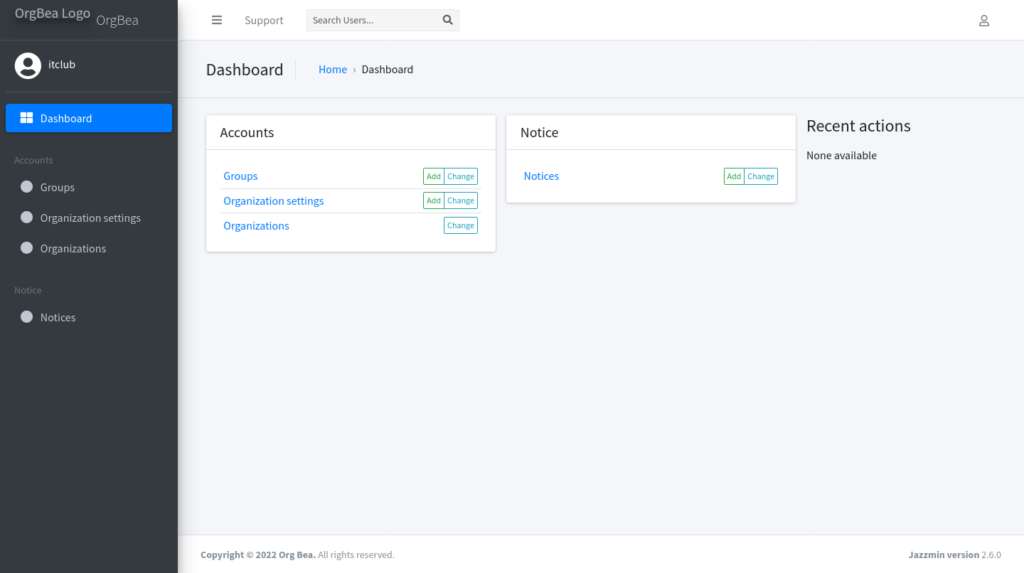
Let me explain some basic terminologies.
Group:
It refers to an event organized by the club or organization. For example, say, IT Club organizes Advanced C Workshop then it is going to be a group.
Users can then be added to this group, where we can later on send them email notifications.
The following things have been planned for a particular group, which will be implemented in later date.
- Assignment Submission
- Syllabus View
- Calendar View
Organization:
This holds the information about organization.
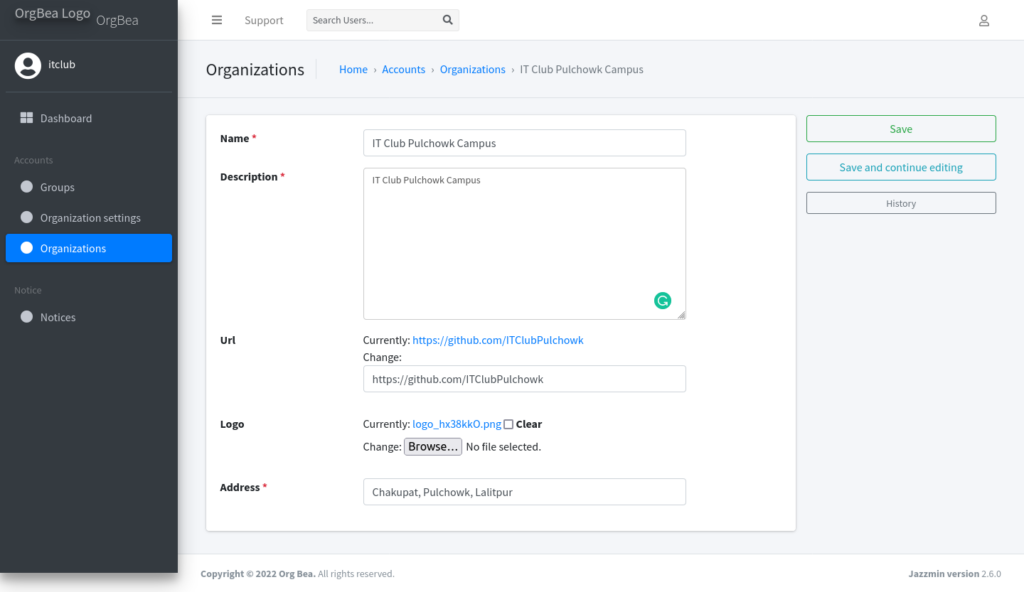
The name, description, the homepage url of said organization, it’s location and finally it’s address are stored here.
All of these information must be added in order for this software to function properly.
Organization Settings:
Organization settings holds the specific settings belonging to the said organization. Currently they hold the following settings but these are to be expanded in the future.
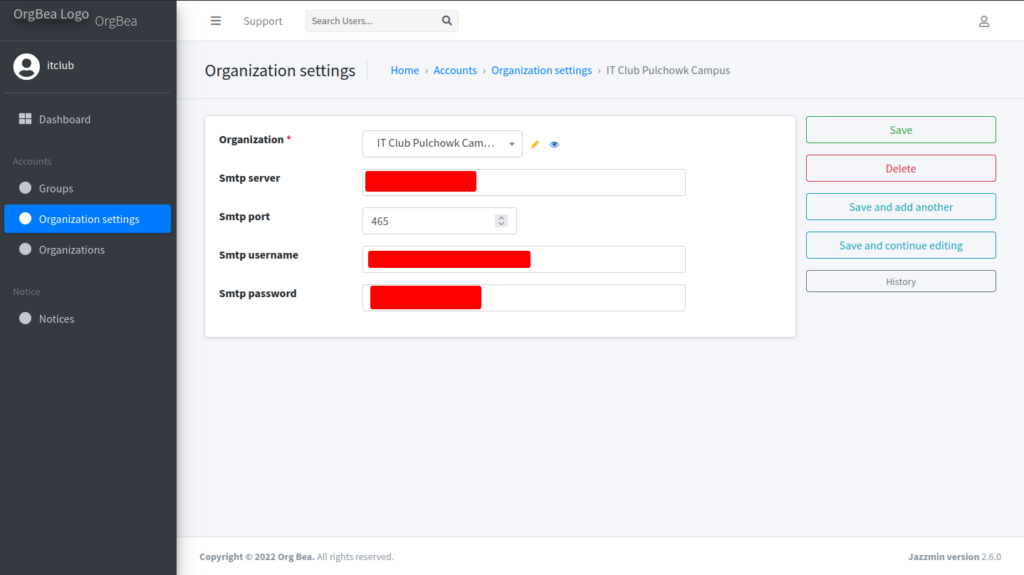
Here you can add SMTP credentials used for sending emails. This is used when the organization wants to send email using it’s own address. If empty then the email address orgbea@sauravadhikary.com.np will be used to send email notifications to the user.
Notice:
Notice is used to send email notifications to all user. This will later on be expanded to be included in the dashboard view as well. For now this only works as a email sending hub.
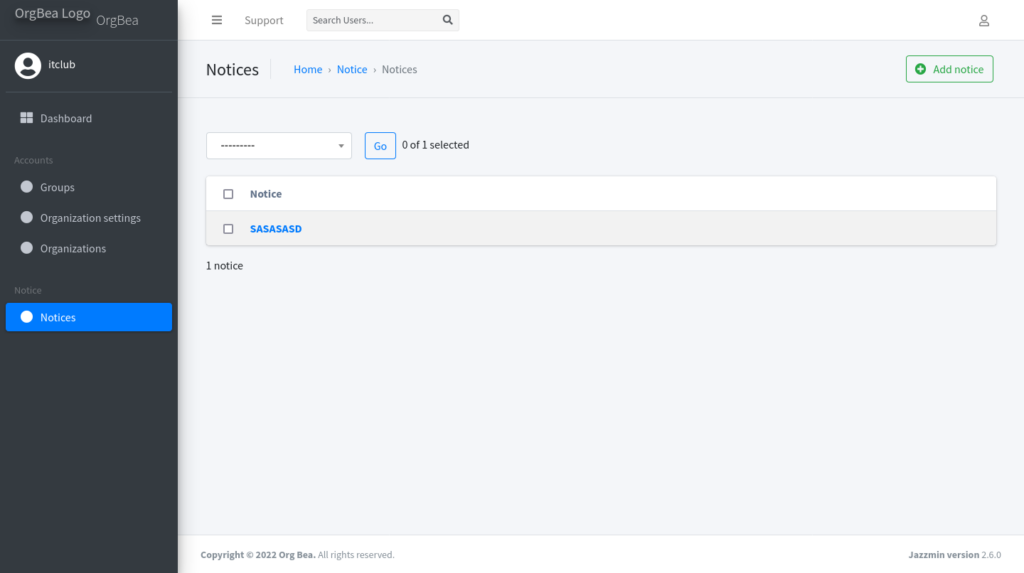
You can easily add notice here. The add notice button will redirect you to the following view.
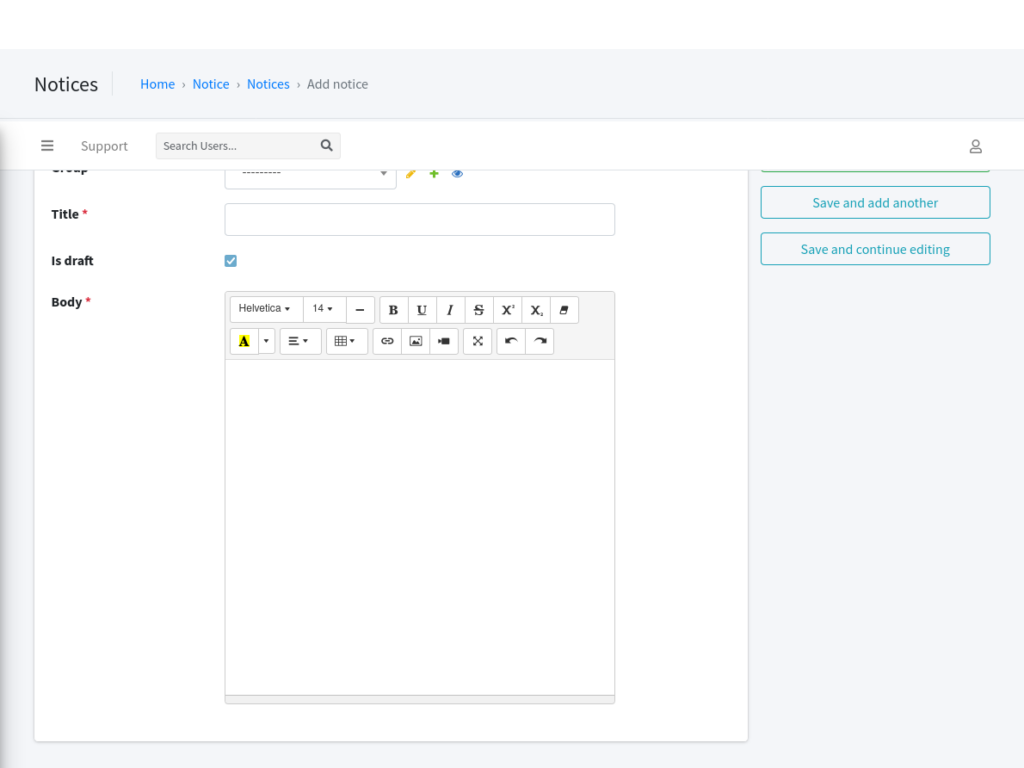
Now you can add notice as per your own requirements.
Let us add an example notice.
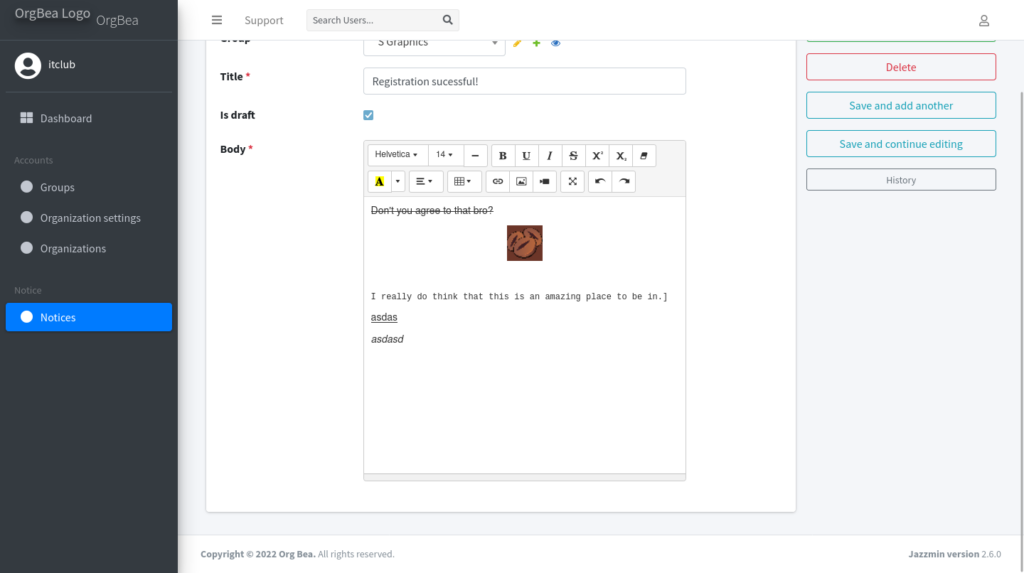
We can now press save.
Sending Emails to User
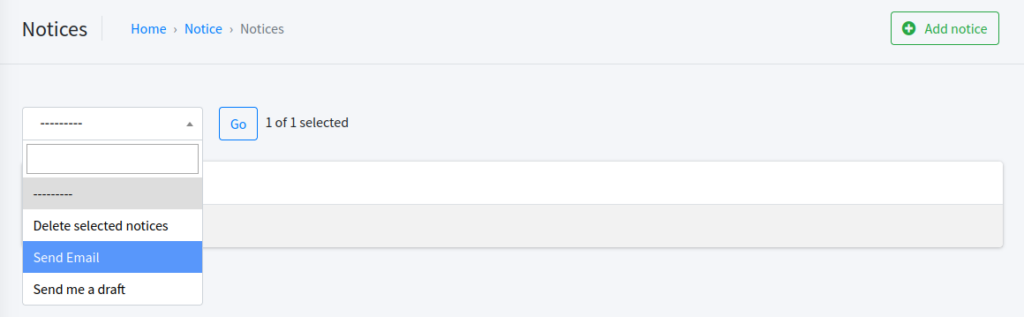
In order to send yourself an email, go to the notice list view and select the notice you want to send email of.
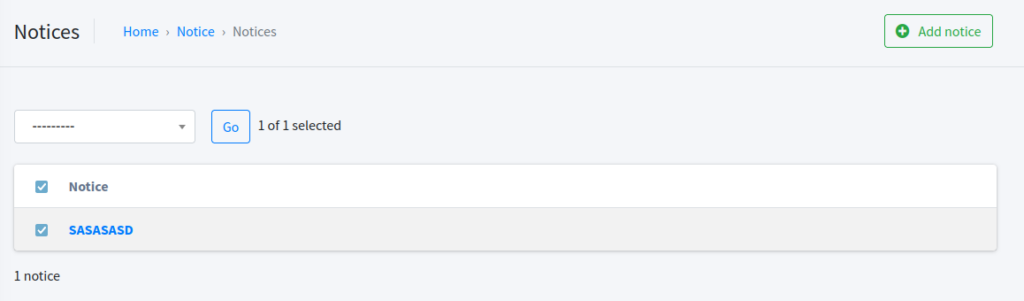
There are 3 options given in the dropdown.
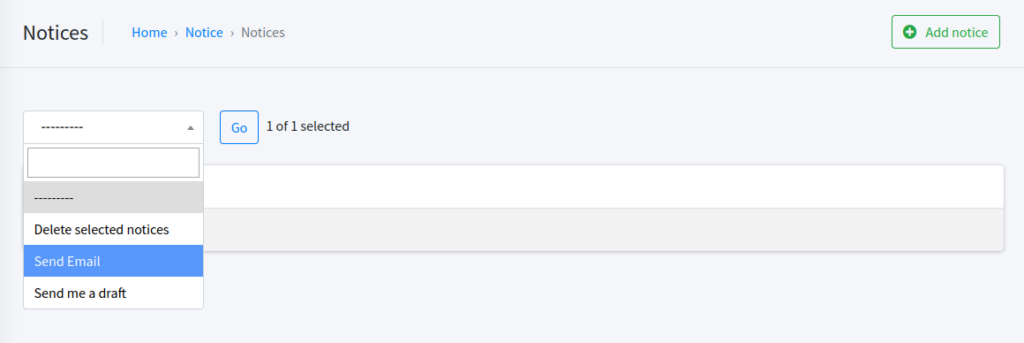
Intially the admin should send himself the draft to check how the notice looks as a email. So, let’s do that.
Now let us check our email. We can see that a new email can be seen.
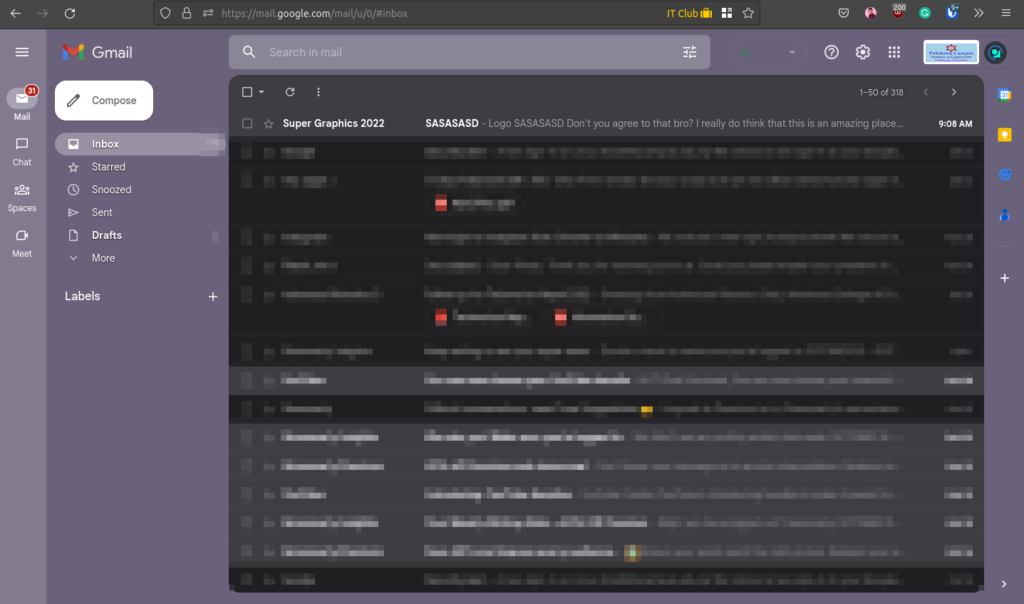
The email Subject is the title of the notice.
The user’s name from which the email goes from is the name of the event. For example in this case, we can see that the email came from a name Super Graphics 2022 which is the name of an event IT Club is organizing. Or in our case it would be a Group
Let’s open that email to see what it looks like.
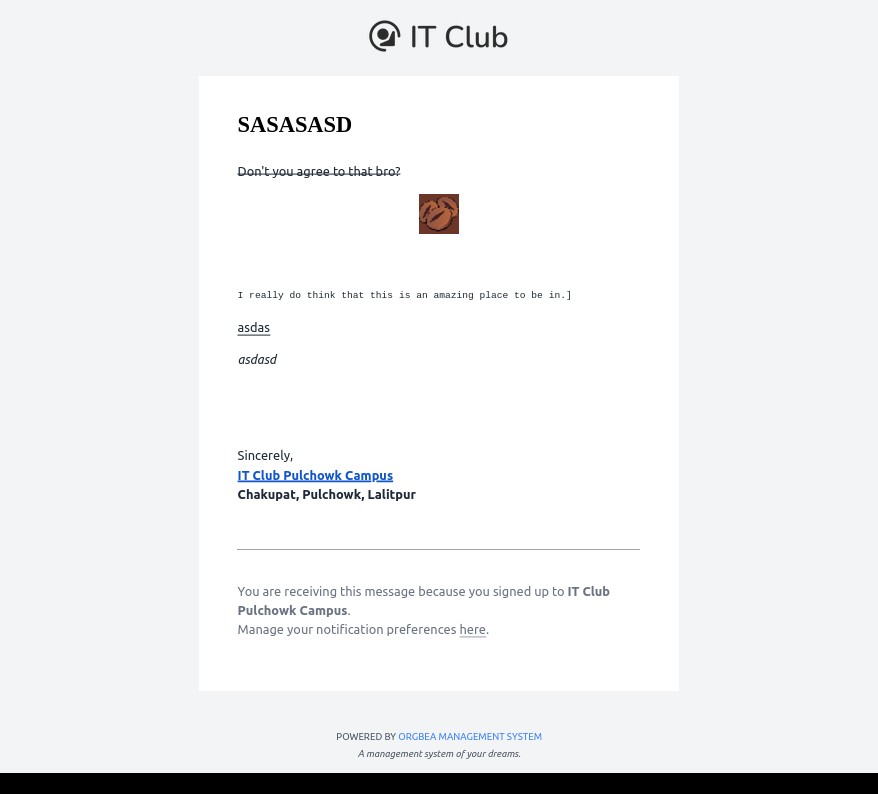
This is how the email looks like.
The contents of the email is same as we wrote in the notice body.
We can see that the software automatically added the following
 Sincerely,
IT Club Pulchowk Campus
Chakupat, Pulchowk, Lalitpur
This is added based on the information stored in the organization information that was explained previously.
Sending Emails to Registered
Not let us send emails to the registered users.
This can be done by going to the notice page, selecting the notices we want to send and pressing the send email options.
But wait, we haven’t added any users, have we?
Let’s do that.
Adding users
This page is work in progress. Will soon be updated with better UI.
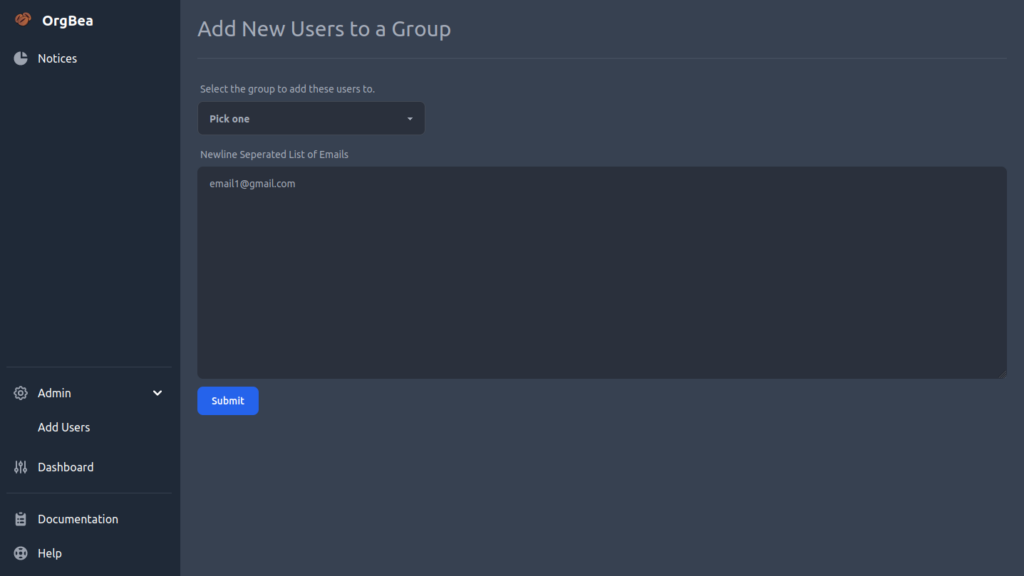
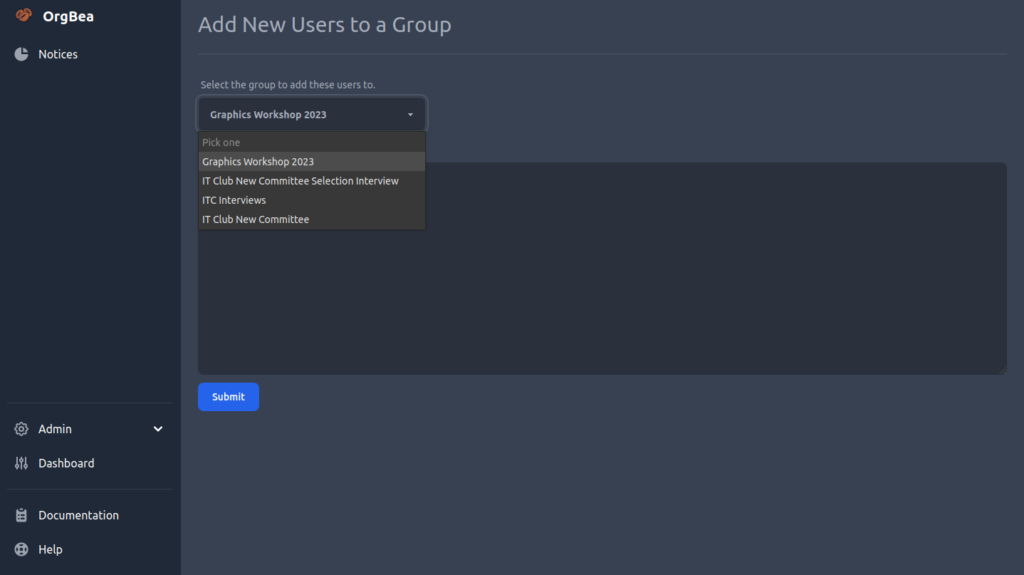
Now let us add in list of emails, the emails of those that are registered for the Super Graphics Event
For this let’s select Super Graphics from the dropdown.
And let’s add some emails then press submit.
Then we can now send the emails to all the .
Not let’s go to: https://orgbea.pp.ua/admin/notice/notice/ and on the dropdown select Send Email

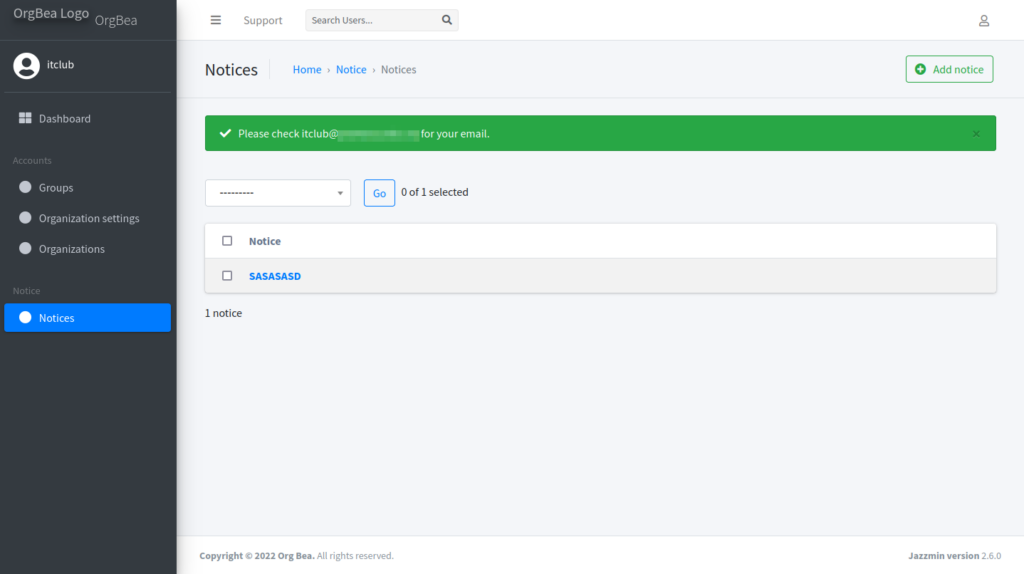
Once this is done, we get this message.
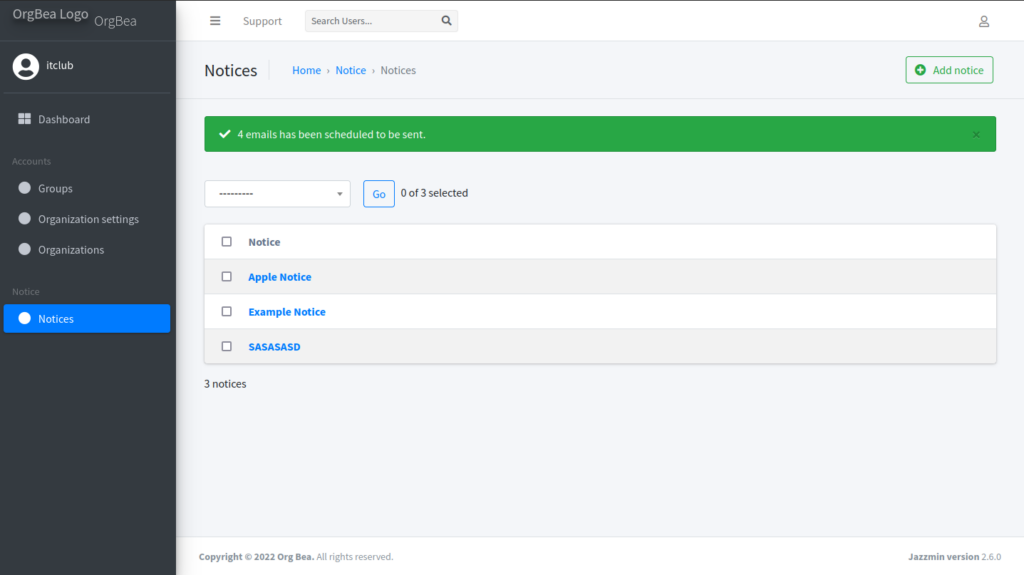
Yup, Sit back and relax as those emails have now been sent.